
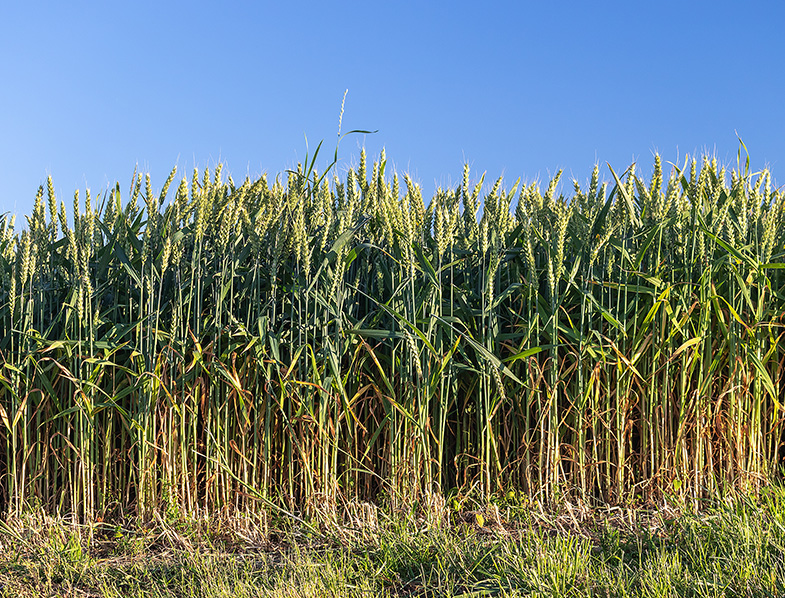
Wheat is a widely grown cereal crop that forms a crucial part of our diet, providing us with essential carbohydrates, protein, and fiber. If you want to grow wheat, you need to understand the process and follow some guidelines to ensure a healthy and abundant harvest. In this guide, we will take you through all the steps involved in growing wheat, from understanding its different varieties and preparing the soil to planting the seeds, caring for the growing plants, and harvesting the mature crop.
Quick Facts
| Steps in Growing Wheat | Key Points |
|---|---|
| Soil Preparation | Test soil quality, amend soil as necessary, till and prep soil |
| Planting Wheat Seeds | Choose the right planting time, select high-quality seeds, ensure proper seed spacing and depth |
| Caring for Growing Wheat | Regular watering and fertilization, pest and disease management |
| Harvesting Wheat | Harvest after 100-120 days from planting, store in a cool, dry place |
Wheat Varieties
| Wheat Varieties | Unique Characteristics | Primary Uses | Growing Region |
|---|---|---|---|
| Hard Red Wheat | High in protein and gluten, reddish-brown kernels | Bread, pasta, crackers | Great Plains region, USA |
| Soft White Wheat | Low protein and gluten content, pale kernels | Pastries, cakes, crackers | Pacific Northwest region, USA |
| Durum Wheat | Hard, high-protein, amber kernels | Pasta, bread (chapatis, flatbreads) | Mediterranean region |
Understanding Wheat Varieties
Wheat is one of the most widely cultivated cereal crops in the world. It is a staple food for millions of people and is used to make a variety of food products, including bread, pasta, and crackers. Before you start growing wheat, it’s essential to know about the different types of wheat that exist.
There are many different varieties of wheat, but the three most common varieties are hard red wheat, soft white wheat, and durum wheat. Each variety has its unique characteristics and is used for different purposes.
Hard Red Wheat
Hard red wheat is the most widely grown wheat variety in the United States. It is a type of wheat that is high in protein and gluten, which makes it ideal for making bread, pasta, and some types of crackers. Hard red wheat has a rich, nutty flavor that is perfect for hearty bread recipes.
Hard red wheat is typically grown in the Great Plains region of the United States, where the climate is dry and hot. The wheat kernels are reddish-brown in color and are relatively hard, which makes them ideal for milling into flour.
Soft White Wheat
Soft white wheat is another popular wheat variety that is typically used to make pastries, cakes, and crackers. Unlike hard red wheat, soft white wheat has a low protein and gluten content, which makes it ideal for producing tender baked goods.
Soft white wheat is typically grown in the Pacific Northwest region of the United States, where the climate is mild and moist. The wheat kernels are pale in color and are relatively soft, which makes them ideal for milling into flour.
Durum Wheat
Durum wheat is a hard, high-protein wheat variety that is mainly grown in hot, dry regions. It is used to make pasta and certain types of bread, such as chapatis and flatbreads.
Durum wheat is typically grown in the Mediterranean region of the world, where the climate is hot and dry. The wheat kernels are amber in color and are relatively hard, which makes them ideal for milling into semolina flour.
Durum wheat is an important crop in many countries, including Italy, where it is used to make traditional pasta dishes such as spaghetti, fettuccine, and lasagna.
Understanding the different varieties of wheat is essential for anyone interested in growing wheat or using wheat products in their cooking. Each variety has its unique characteristics and is used for different purposes, so it’s important to choose the right type of wheat for your needs. Whether you’re making bread, pasta, or pastries, there is a wheat variety that is perfect for your recipe.
Preparing the Soil for Wheat Growth
The quality of the soil is a critical factor in the success of wheat growth. You need to prepare the soil correctly to ensure that it has the necessary nutrients and conditions for the plants to thrive.
Testing Soil Quality
Before planting wheat, you should test the soil to determine its nutrient levels, acidity, and composition. This will help you identify any deficiencies that need to be corrected and adjust the soil pH accordingly. Soil testing can be done using a soil test kit or by sending a sample to a soil testing laboratory. It is essential to take multiple samples from different areas of the field to get an accurate representation of the soil’s quality.
Soil testing is crucial because it helps you determine the appropriate amount of fertilizers and other soil amendments to apply. If the soil is too acidic, you may need to add lime to raise the pH level. If the soil is too alkaline, you may need to add sulfur to lower the pH level.
Amending the Soil
If the soil test reveals that your soil is deficient in essential nutrients such as nitrogen, potassium, or phosphorus, you need to amend the soil by adding organic matter, compost, or other fertilizers. Organic matter can be added to the soil in the form of animal manure, cover crops, or green manure. Compost is another excellent source of organic matter that can be added to the soil to improve its structure and nutrient content.
When adding fertilizers to the soil, it is essential to follow the recommended application rates. Over-fertilizing can lead to nutrient imbalances, which can be harmful to the wheat plants.
Tilling and Prepping the Soil
Once you have amended the soil, you need to till it to loosen it up and create a fine seedbed for the wheat seeds. Remove any large rocks, debris, or weeds before tilling. Tilling also helps to incorporate the organic matter and fertilizers into the soil, making them available to the wheat plants.
It is important to avoid over-tilling the soil, as this can lead to soil compaction and reduce the soil’s ability to hold water and nutrients. You should also avoid tilling the soil when it is too wet, as this can lead to soil structure damage.
After tilling, you can prepare the soil for planting by creating rows or furrows using a hoe or plow. The rows should be spaced according to the wheat variety being planted and the equipment used for harvesting.
By following these steps, you can ensure that your soil is prepared correctly for wheat growth and set the stage for a successful harvest.
Planting Wheat Seeds
Now that you have prepared the soil, it’s time to plant wheat seeds. Here are some essential tips that will help you get the best results.
Wheat is a versatile crop that can be grown in a wide range of climates. It is an excellent source of nutrition and is used to make bread, pasta, and other food products. Growing wheat can be a rewarding experience, and with the right techniques, you can achieve a bountiful harvest.
Choosing the Right Time to Plant
The ideal time to plant wheat will depend on your region and the type of wheat you are growing. In general, wheat is planted in the fall (September-October) or early spring (March-April). The timing of planting is critical to ensure that the wheat has enough time to mature before the onset of extreme weather conditions.
If you are planning to grow winter wheat, it is best to plant it in the fall, as it requires a period of low temperature to vernalize. Spring wheat, on the other hand, is planted in early spring when the soil has warmed up enough for the seeds to germinate.
Seed Selection and Germination
You need to select high-quality, disease-free wheat seeds to ensure good germination and plant vigor. It is essential to buy seeds from a reputable supplier to ensure that they are of good quality. You can also test the seeds’ germination rate by placing them in a damp paper towel for a few days to see how many sprout.
Soak the seeds in water overnight before planting to improve their germination rate. This will help soften the seed coat and allow the seed to absorb water more easily. This will also help the seedlings emerge more quickly and uniformly.
Proper Seed Spacing and Depth
Plant the seeds in rows with 6-8 inches spacing between them. The seeds need to be planted at a depth of 1-2 inches in loose soil. It is essential to ensure that the soil is loose and well-drained to allow the roots to grow deep and strong.
It is also important to ensure that the seeds are not planted too deep, as this can inhibit their growth. If the seeds are planted too shallow, they may dry out and fail to germinate. Therefore, it is crucial to find the right balance when planting the seeds.
By following these tips, you can ensure that your wheat crop grows strong and healthy. With proper care and attention, you can look forward to a bountiful harvest of nutritious wheat.
Caring for Growing Wheat
Now that the wheat plants are growing, you need to take care of them to ensure that they grow healthy and strong.
Watering and Irrigation
Wheat plants require regular watering to ensure they remain hydrated and grow properly. They require an average of 1-2 inches of water per week during the growing period.
Fertilizing Your Wheat
Wheat plants require essential nutrients such as nitrogen, phosphorus, and potassium to grow optimally. You can add additional fertilizers during the growing period to ensure adequate plant nutrition.
Pest and Disease Management
Wheat plants are susceptible to pests and diseases that can damage the crop and reduce yields. Keep an eye out for any signs of pest infestation and disease incidence, and take appropriate measures to control them. Use eco-friendly methods for pest and disease management wherever possible.

Harvesting Wheat
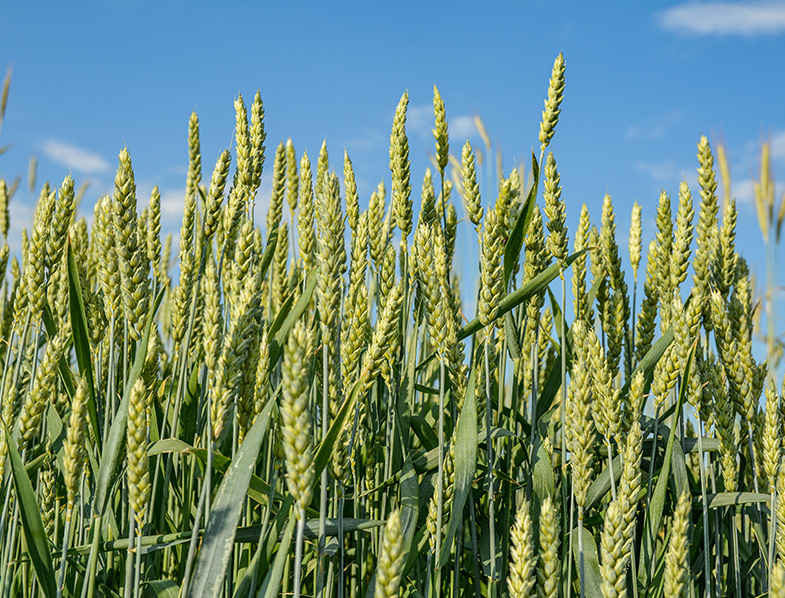
Wheat plants typically reach maturity after 100-120 days from planting, depending on the variety. The wheat heads will change color from green to golden-brown when they are ready for harvest. It’s time to harvest the wheat when the grains are fully formed and the stem is starting to dry out.
Once harvested, store the wheat in a cool, dry place to prevent moisture and pest infestation. You can use the harvested wheat to make various dishes, such as bread, pasta, and cakes.
Conclusion
Now that you know how to grow wheat, you can start growing your own wheat and enjoy the freshest and healthiest produce. Follow these guidelines and enjoy a bountiful harvest of this amazing cereal crop. Happy Wheat Growing!
Wheat FAQS
Why is growing wheat illegal?
As of my knowledge cutoff in September 2021, growing wheat is not generally illegal. However, some regions may have agricultural restrictions for various reasons such as environmental conservation or crop rotation policies. Before you decide to grow wheat, you should check with local agricultural agencies to understand any restrictions or requirements.
Can I grow my own wheat?
Yes, you can grow your own wheat, given you have the right conditions including suitable soil, the appropriate climate, and enough space. Wheat is typically grown in large fields, but it can be grown on a smaller scale in a home garden as well.
How long does it take to grow wheat?
The length of time it takes to grow wheat depends on the variety of wheat and the climate. In general, wheat takes about 7-8 months to grow from planting to harvest. Winter wheat, which is planted in the fall and harvested in early summer of the next year, typically takes around 8-9 months, while spring wheat, planted in the spring and harvested in late summer, can take around 4-5 months.
How is wheat grown step by step?
Here is a simple step-by-step process of growing wheat:
- Preparation: Choose a location with good drainage and full sun. The soil should be tilled to a fine texture and tested for proper nutrients.
- Planting: Wheat seeds are sown directly into the soil. The planting depth is usually 1-2 inches deep and the seeds are spaced apart about 6-8 inches. This can vary depending on the variety of wheat being planted.
- Watering and Care: The newly planted wheat seeds should be watered thoroughly. Depending on the climate, wheat usually requires additional irrigation.
- Fertilizing: Fertilizers are usually applied before planting and at different stages of the growing season to boost the nutrient supply.
- Pest and Disease Management: Regularly monitor the crops for signs of pests and diseases. Use approved pesticides and fungicides if necessary.
- Harvest: Wheat is typically ready to harvest when the stalks and heads have turned from green to a golden yellow and the kernels are hard and dry. This is done by cutting the stems, threshing to separate the grain, and winnowing to remove the chaff.
Can you grow your own wheat in the US?
Yes, you can grow your own wheat in the U.S. Different varieties of wheat are suited to different climates, so the variety you choose may depend on your location. However, as mentioned earlier, it’s important to check local agricultural regulations and guidelines before starting to grow wheat.
Why is wheat bad in America?
The statement “wheat is bad in America” is a simplification and generalization. Wheat is not inherently “bad.” However, concerns have been raised about the consumption of highly processed wheat products and the potential health impacts. Refined wheat products often have less nutritional value than whole wheat options, and high consumption of these can contribute to health issues like obesity and heart disease. Additionally, a small percentage of the population has conditions like celiac disease or wheat allergy, which requires avoidance of wheat.